officially an adult!


The former FLOTUS has a fabulous sense of style
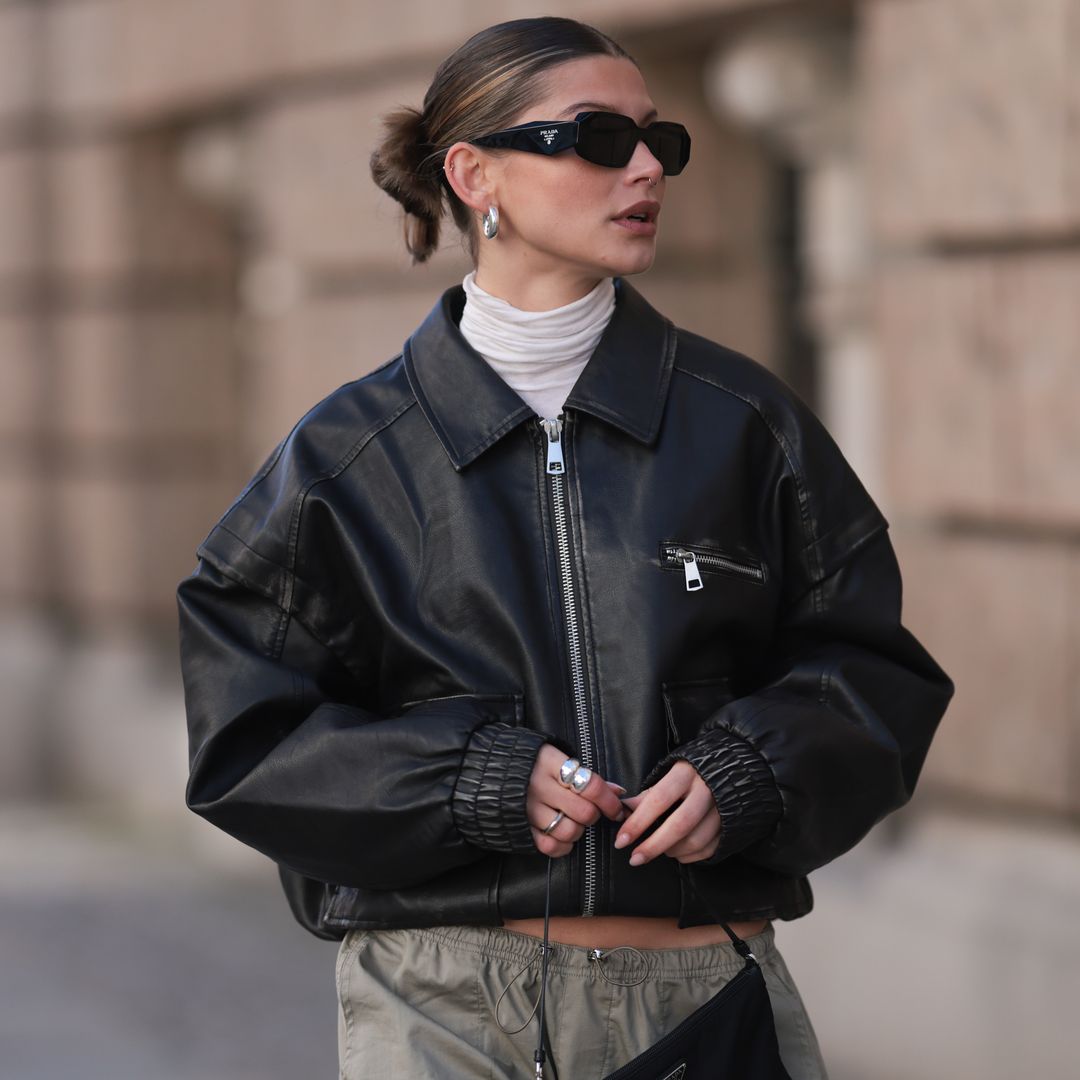
Elevate any outfit this spring with a stylish bomber jacket
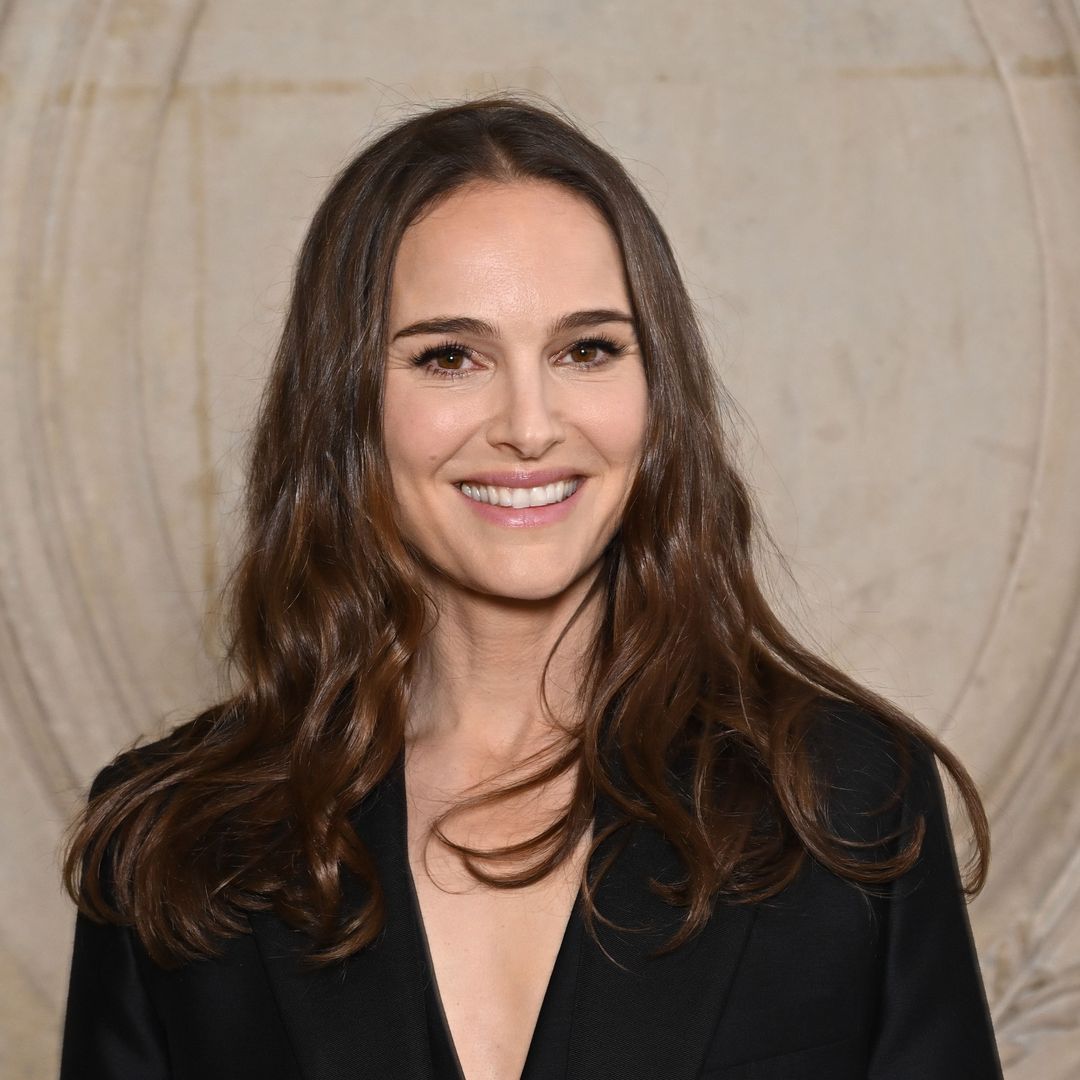
The Black Swan actress finalized her divorce from Benjamin Millepied in March

Amazon's trending bodysuit is so similar to Kim Kardashian's SKIMS look - and it's priced from $14.99 /£19.99