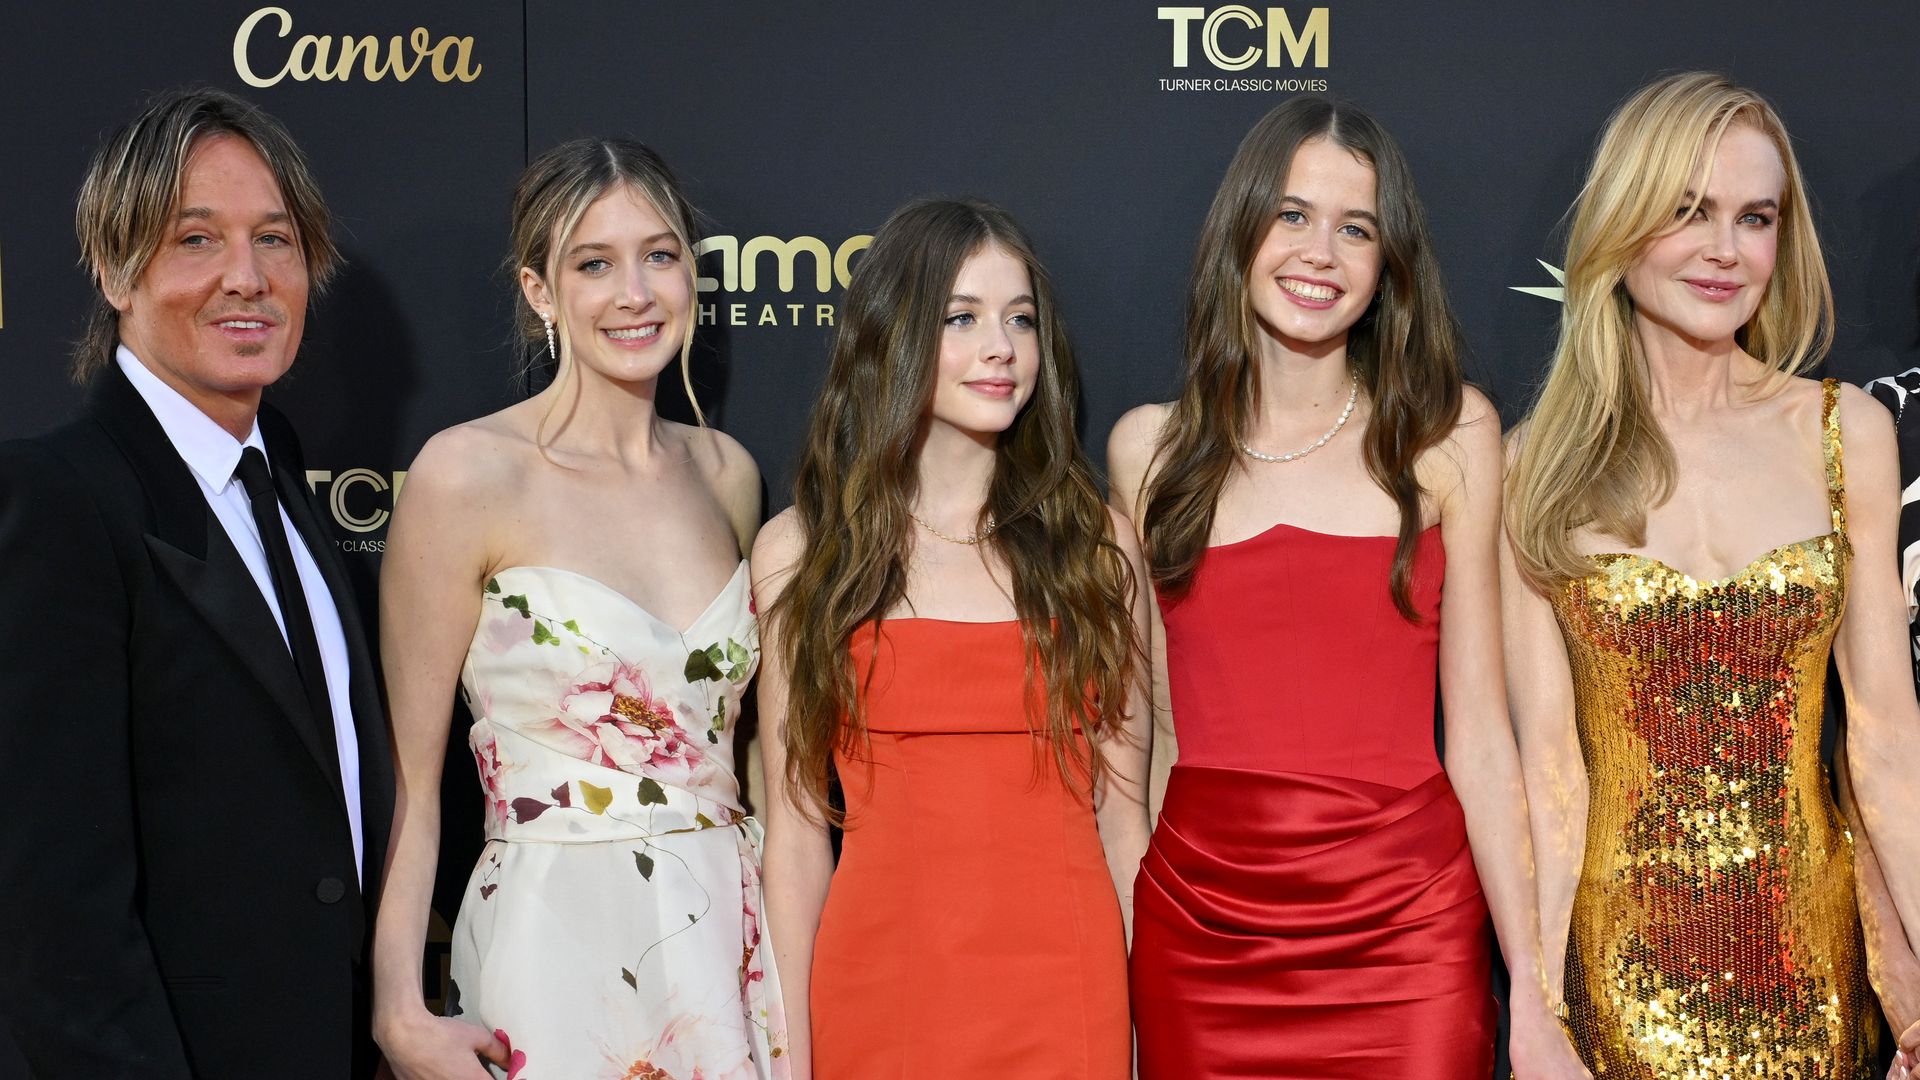
HOLLYWOOD FAMILIES
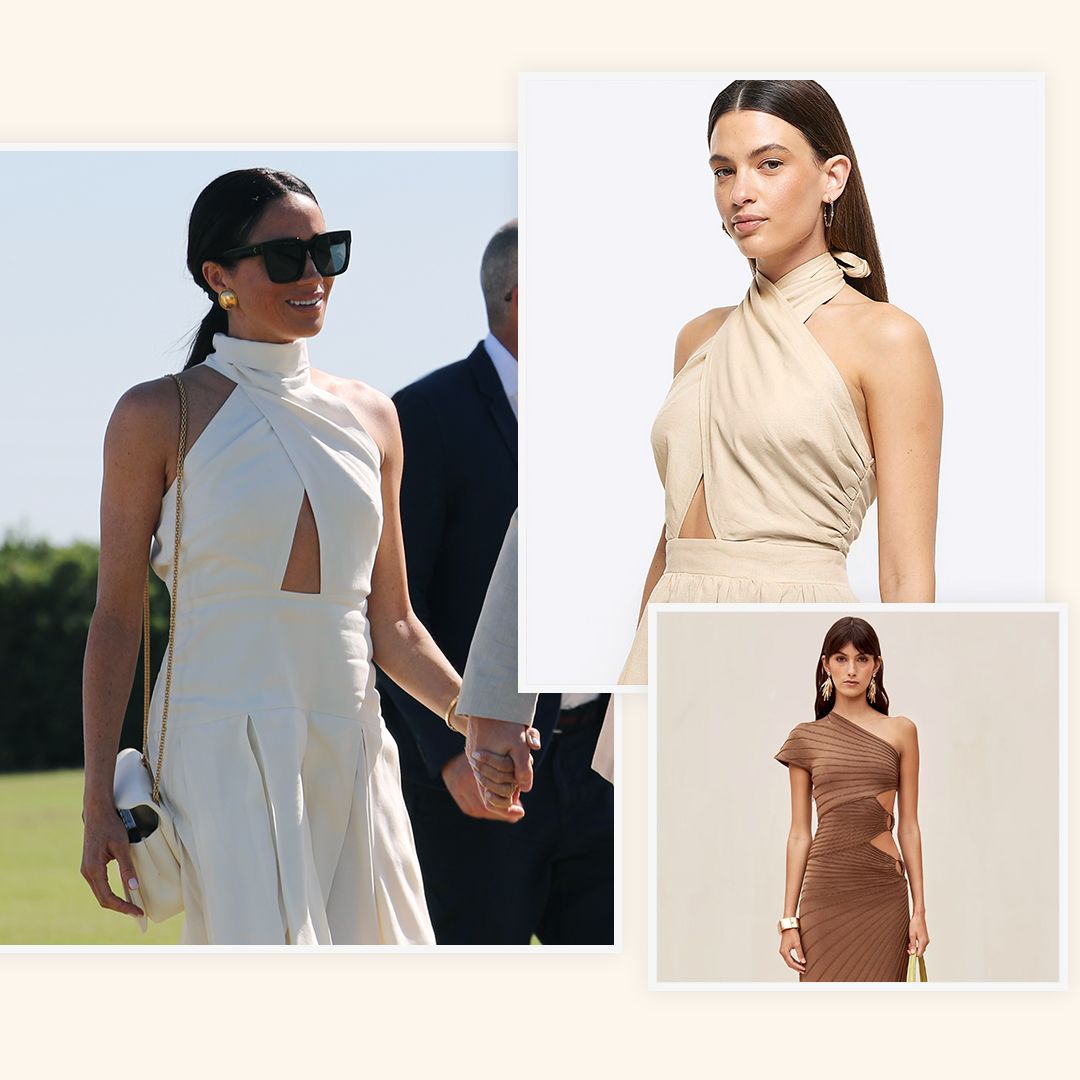
Coachella is sure to bring a flurry of enviable looks from the style set this month
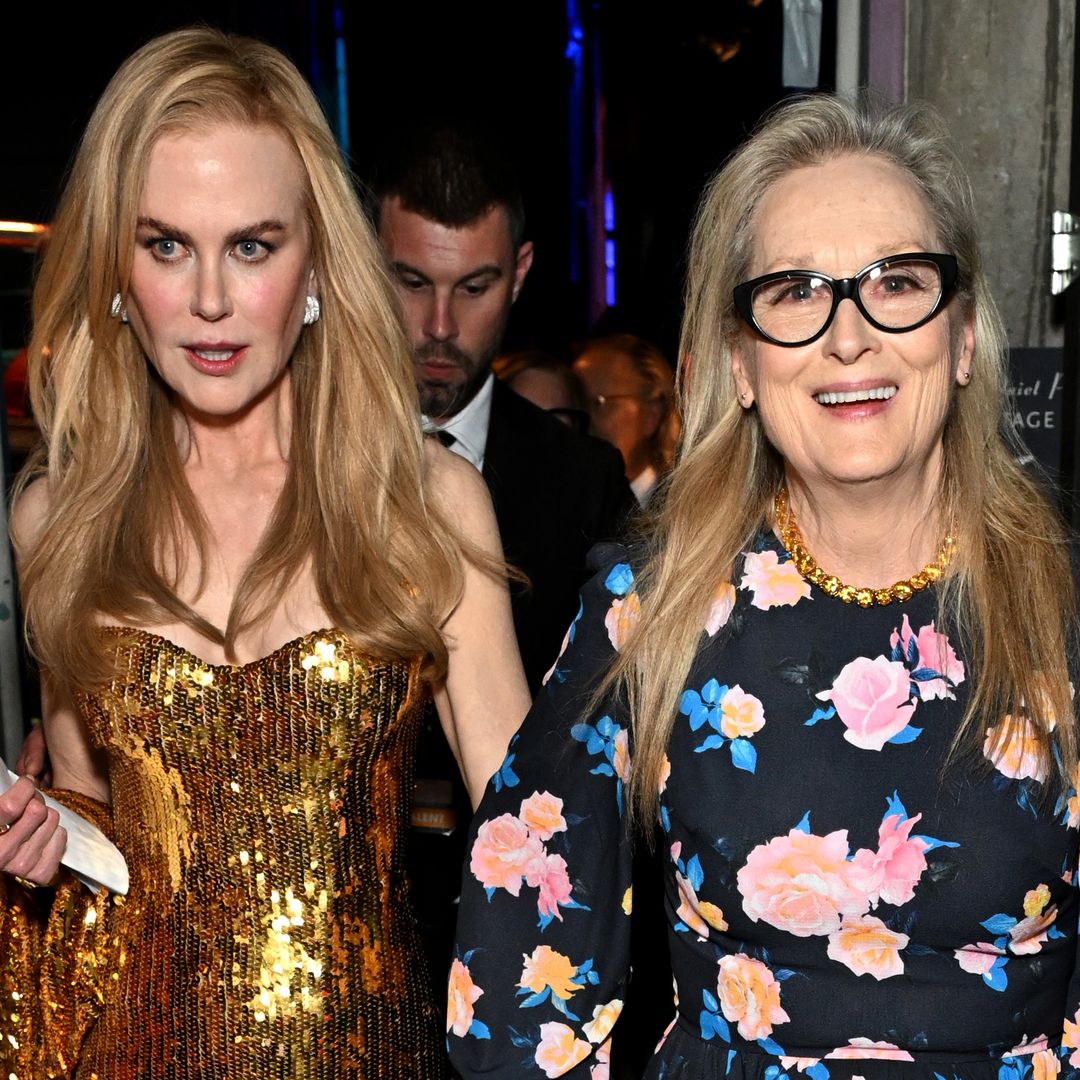
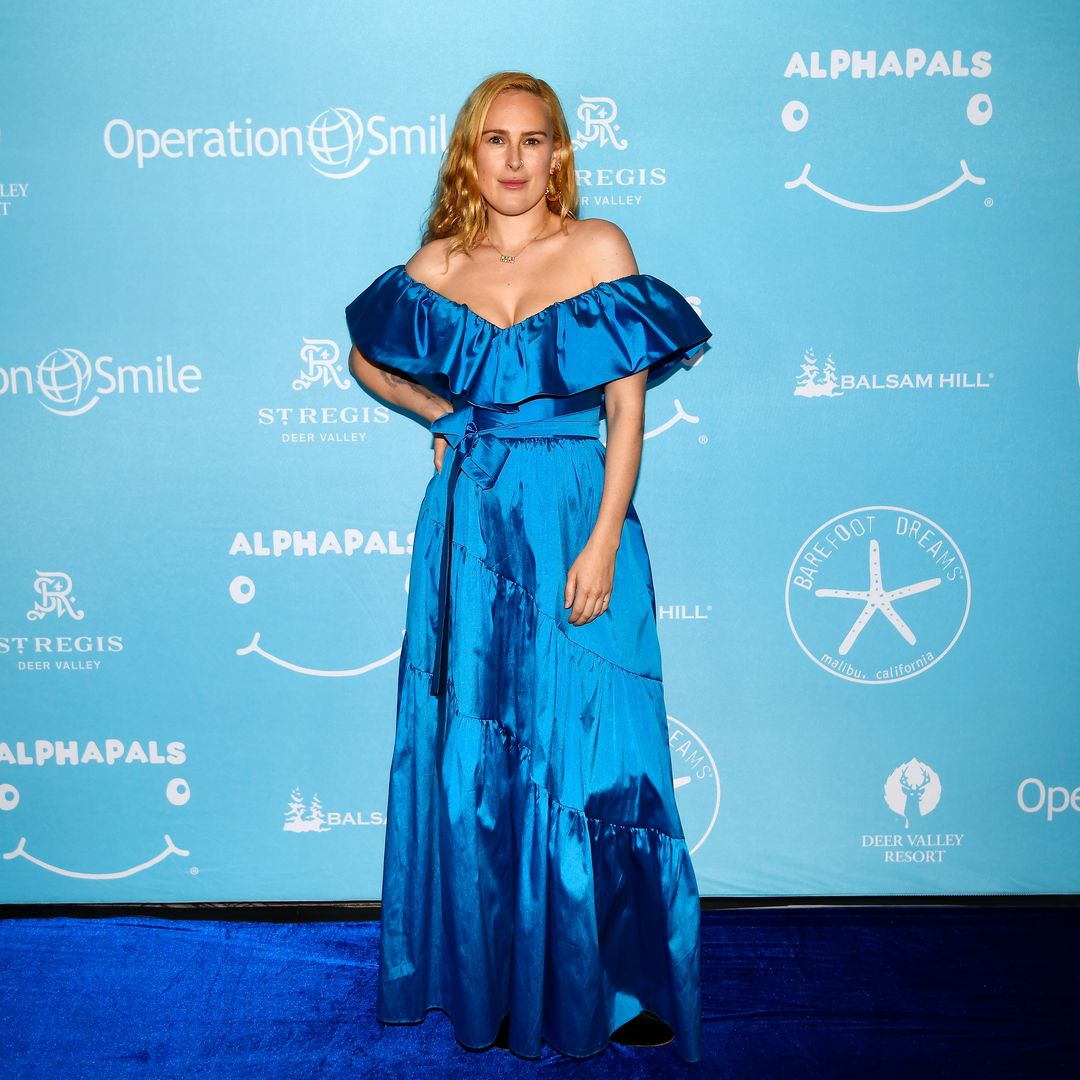
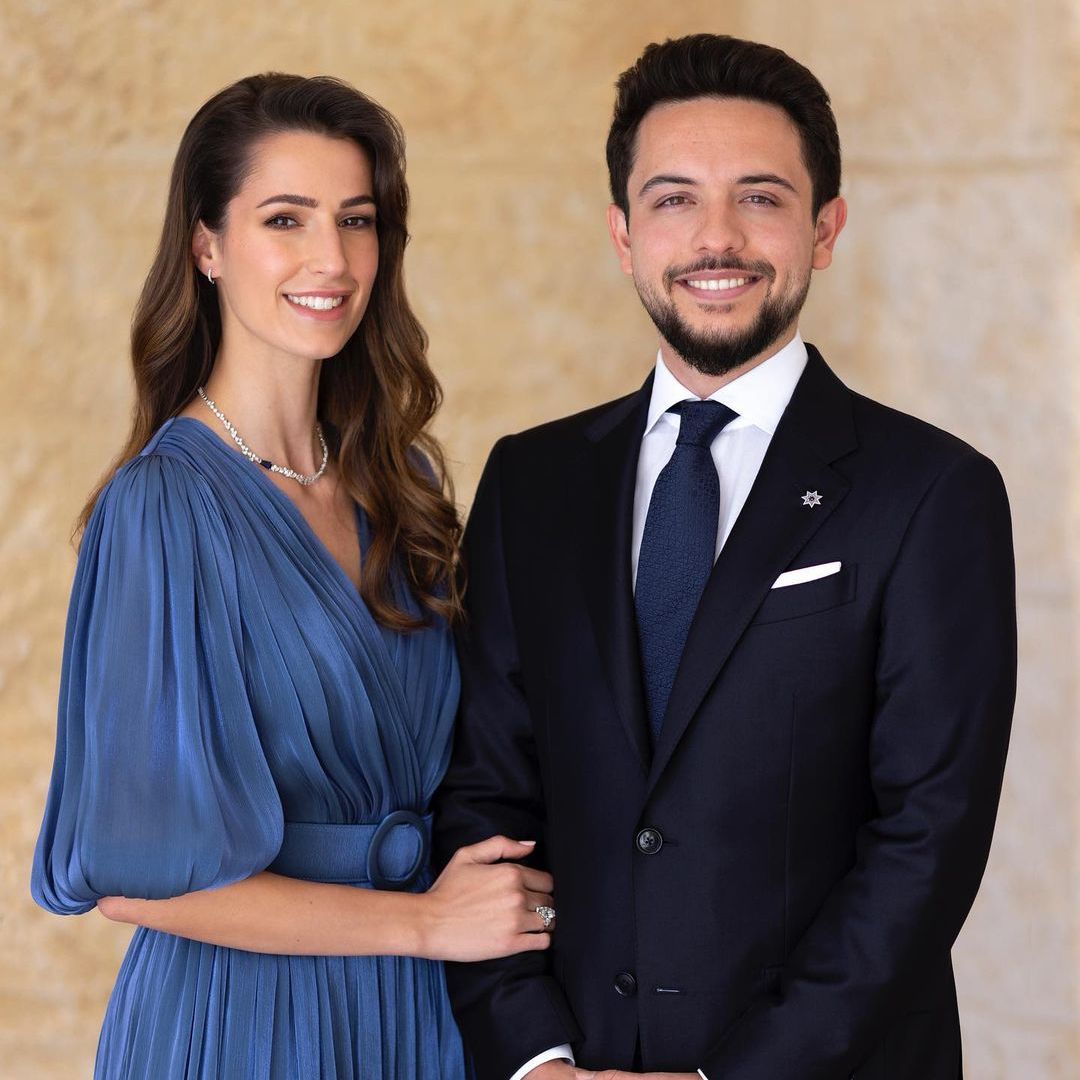
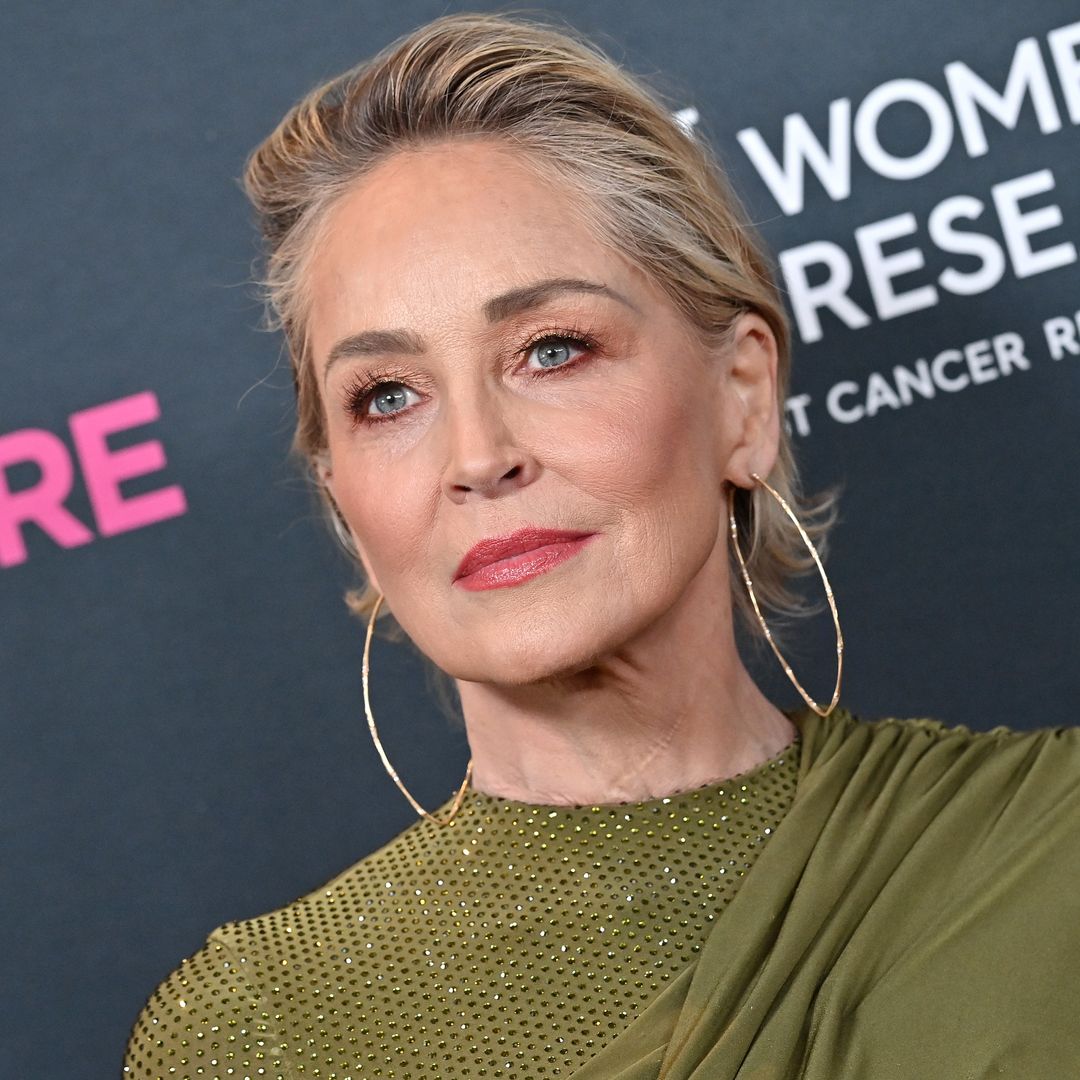
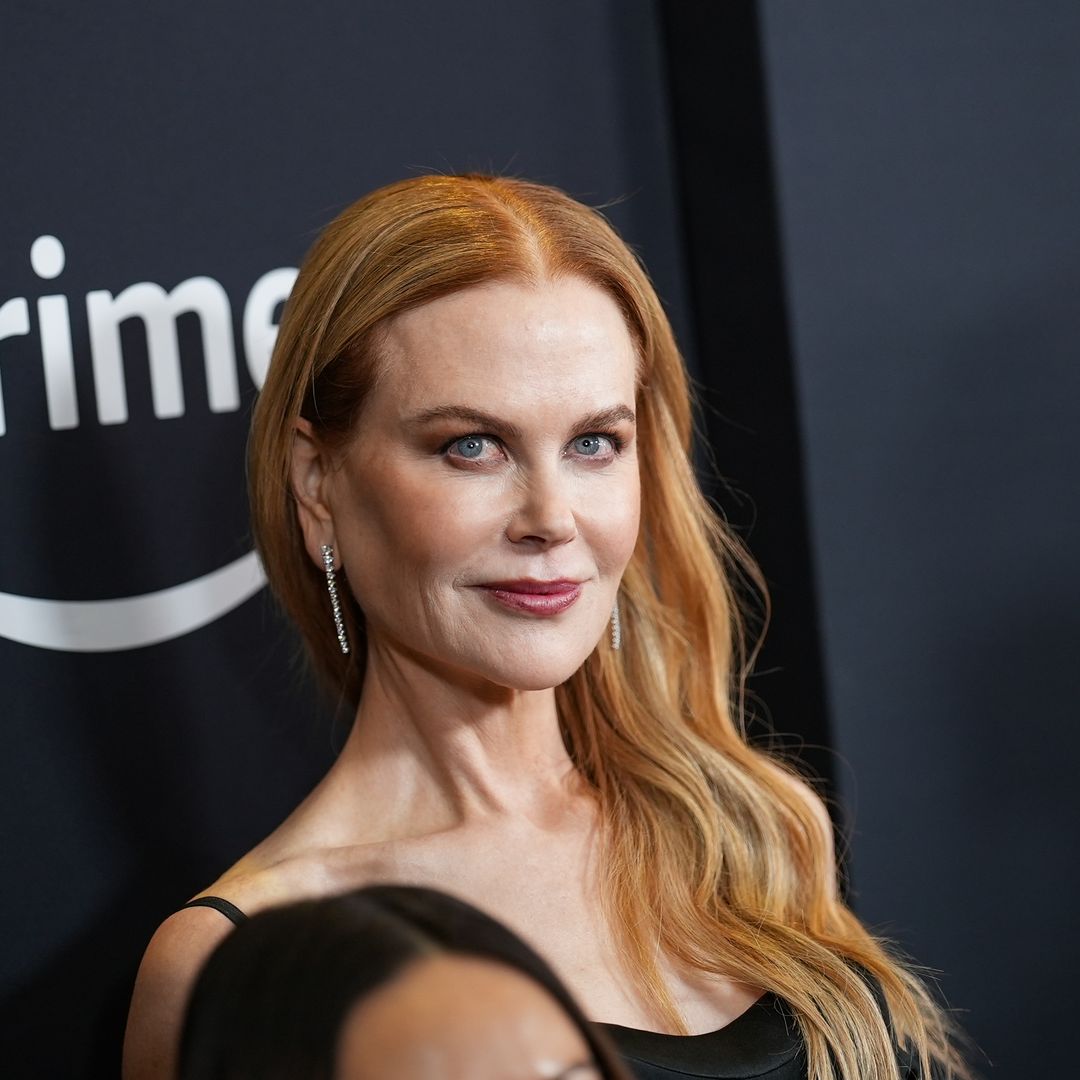
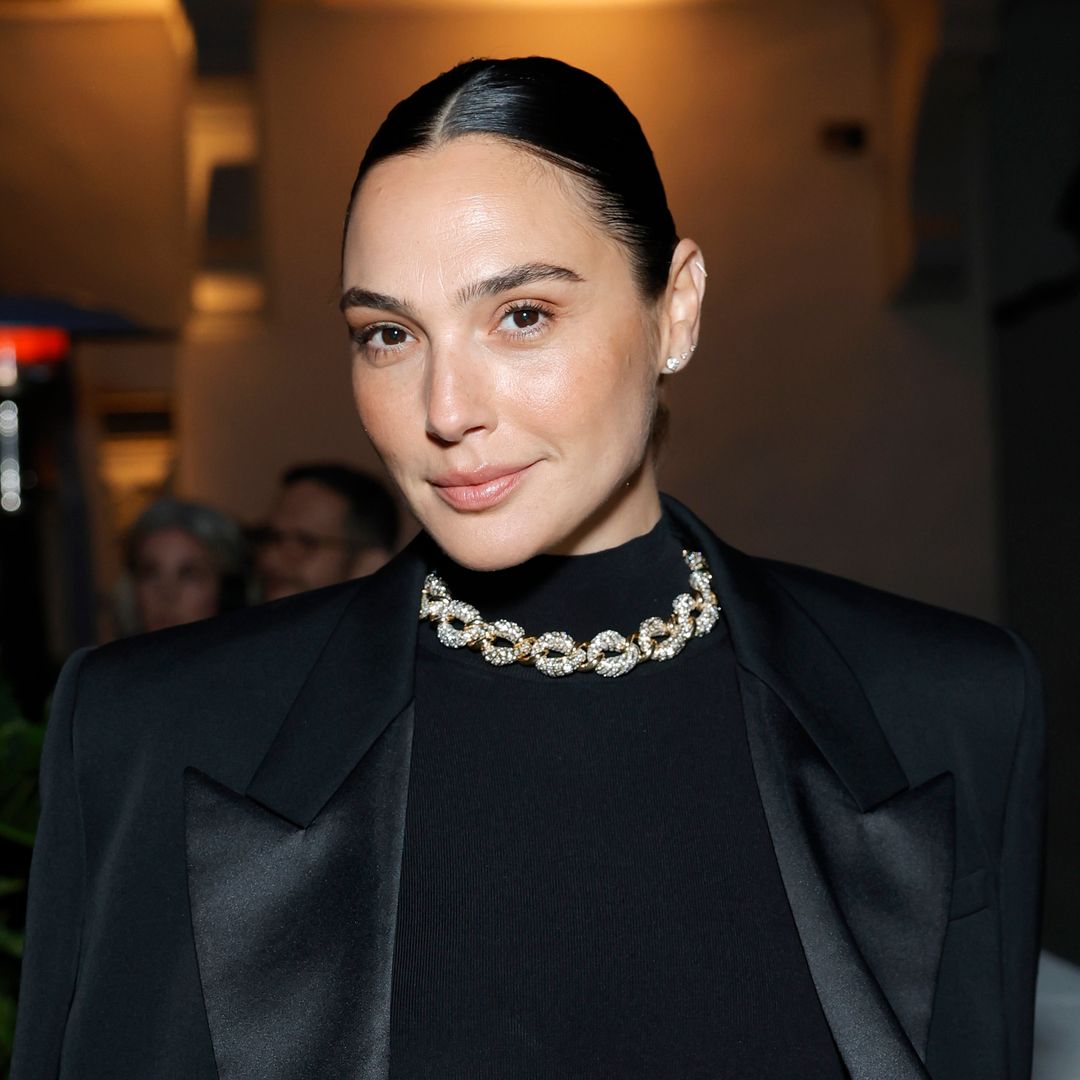
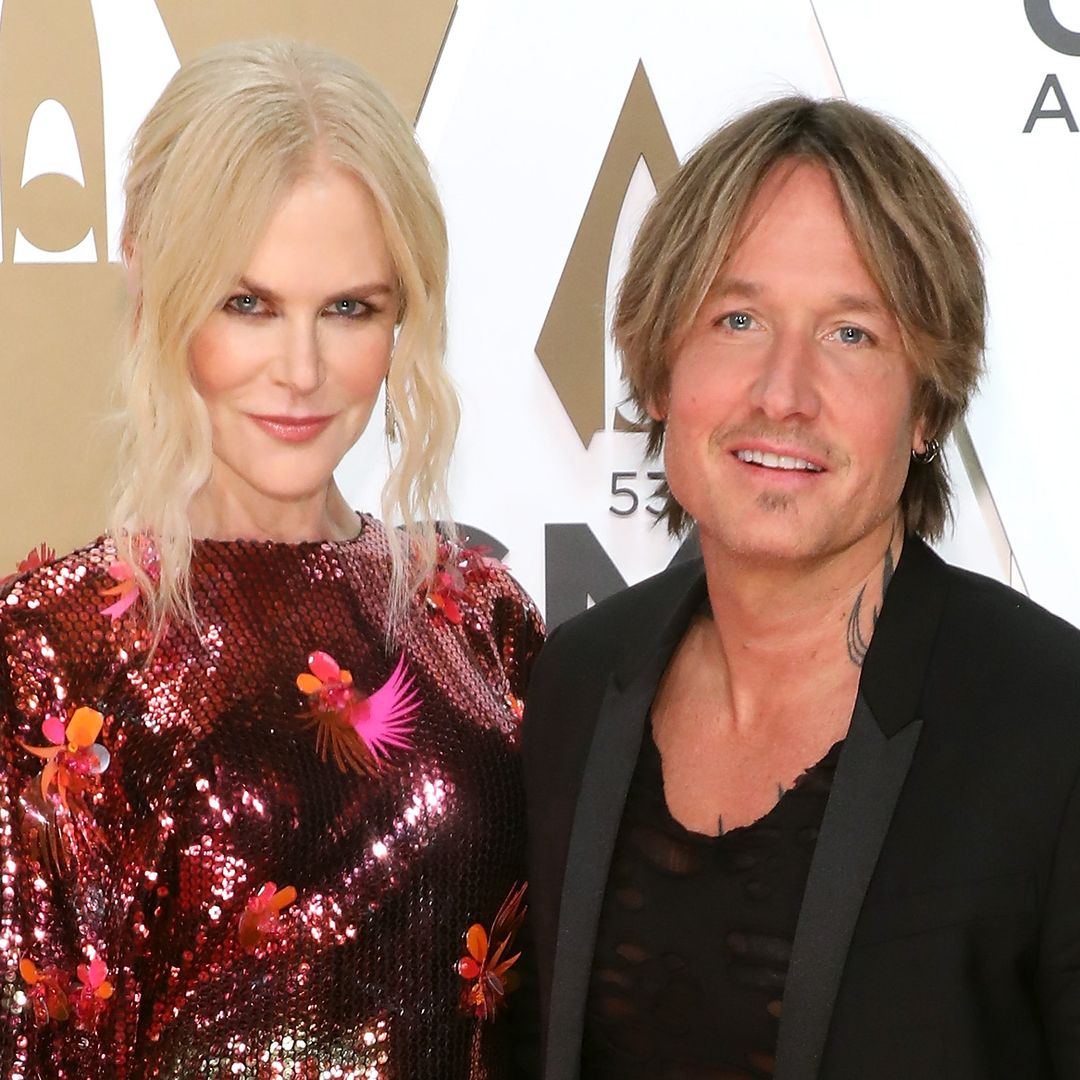
The Hollywood star, 74, looked mesmerizing in a royal blue gown to celebrate Nicole Kidman
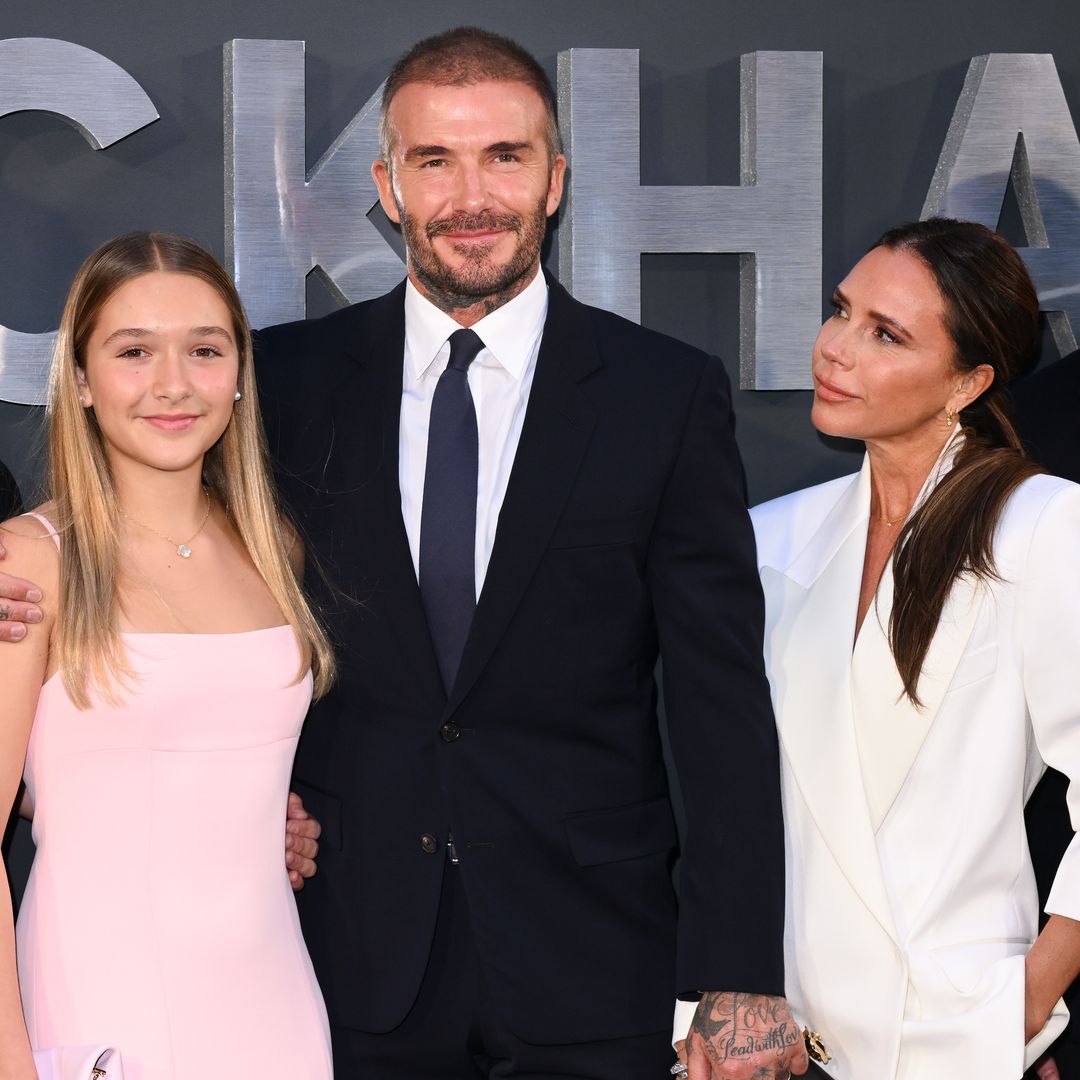
David and Victoria Beckham's youngest has a seriously impressive style file
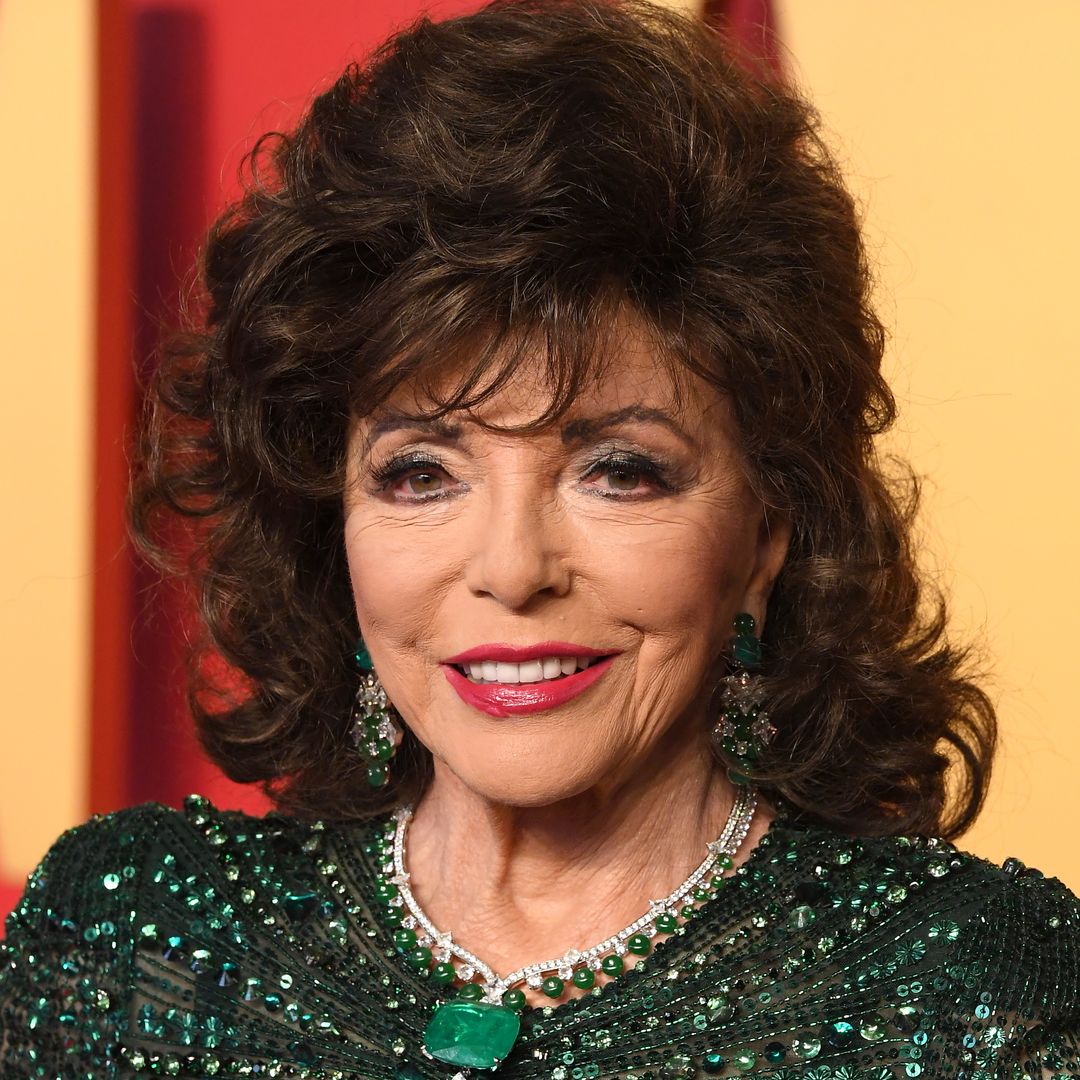
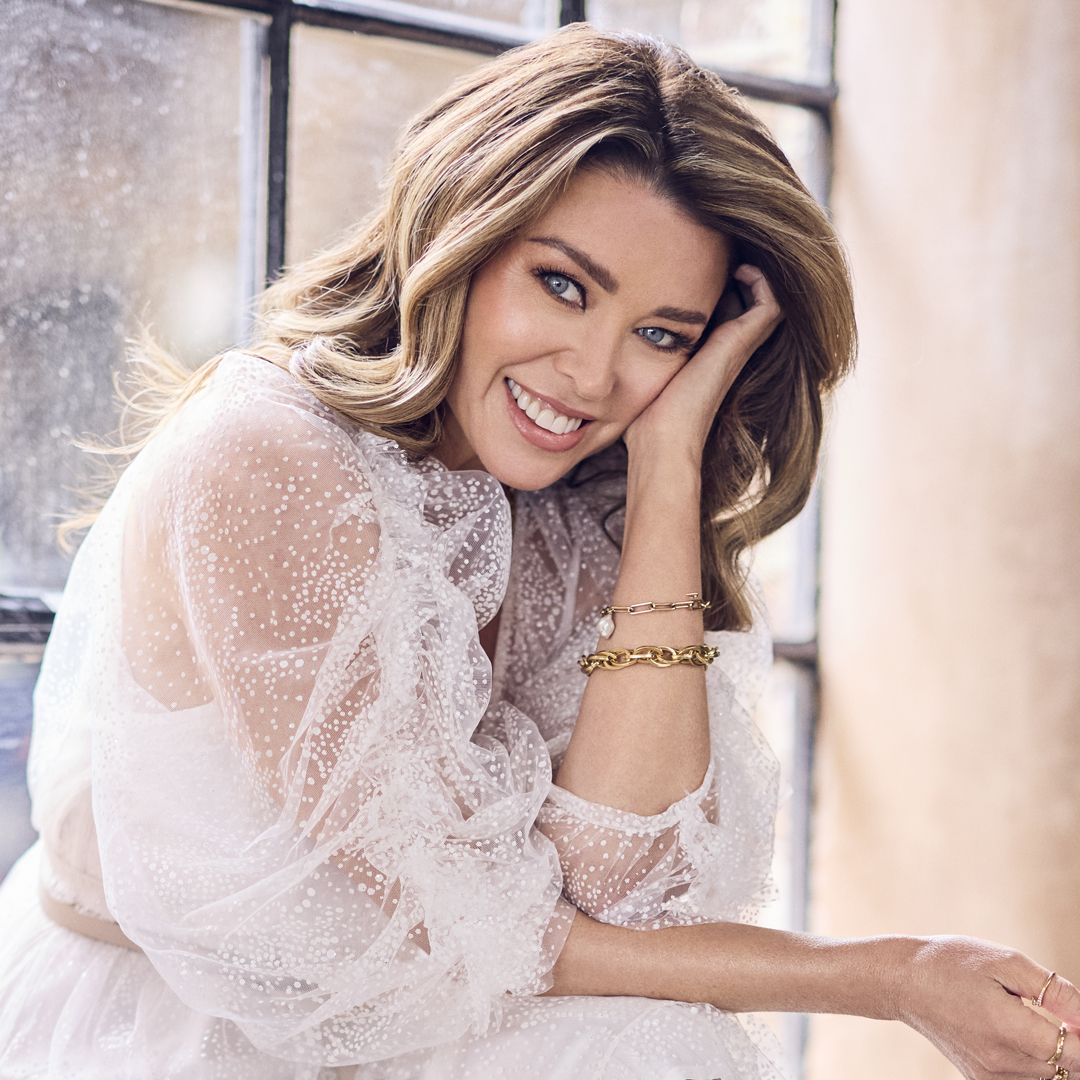
The Dynastry actress gave fans a glimpse into her early modelling career